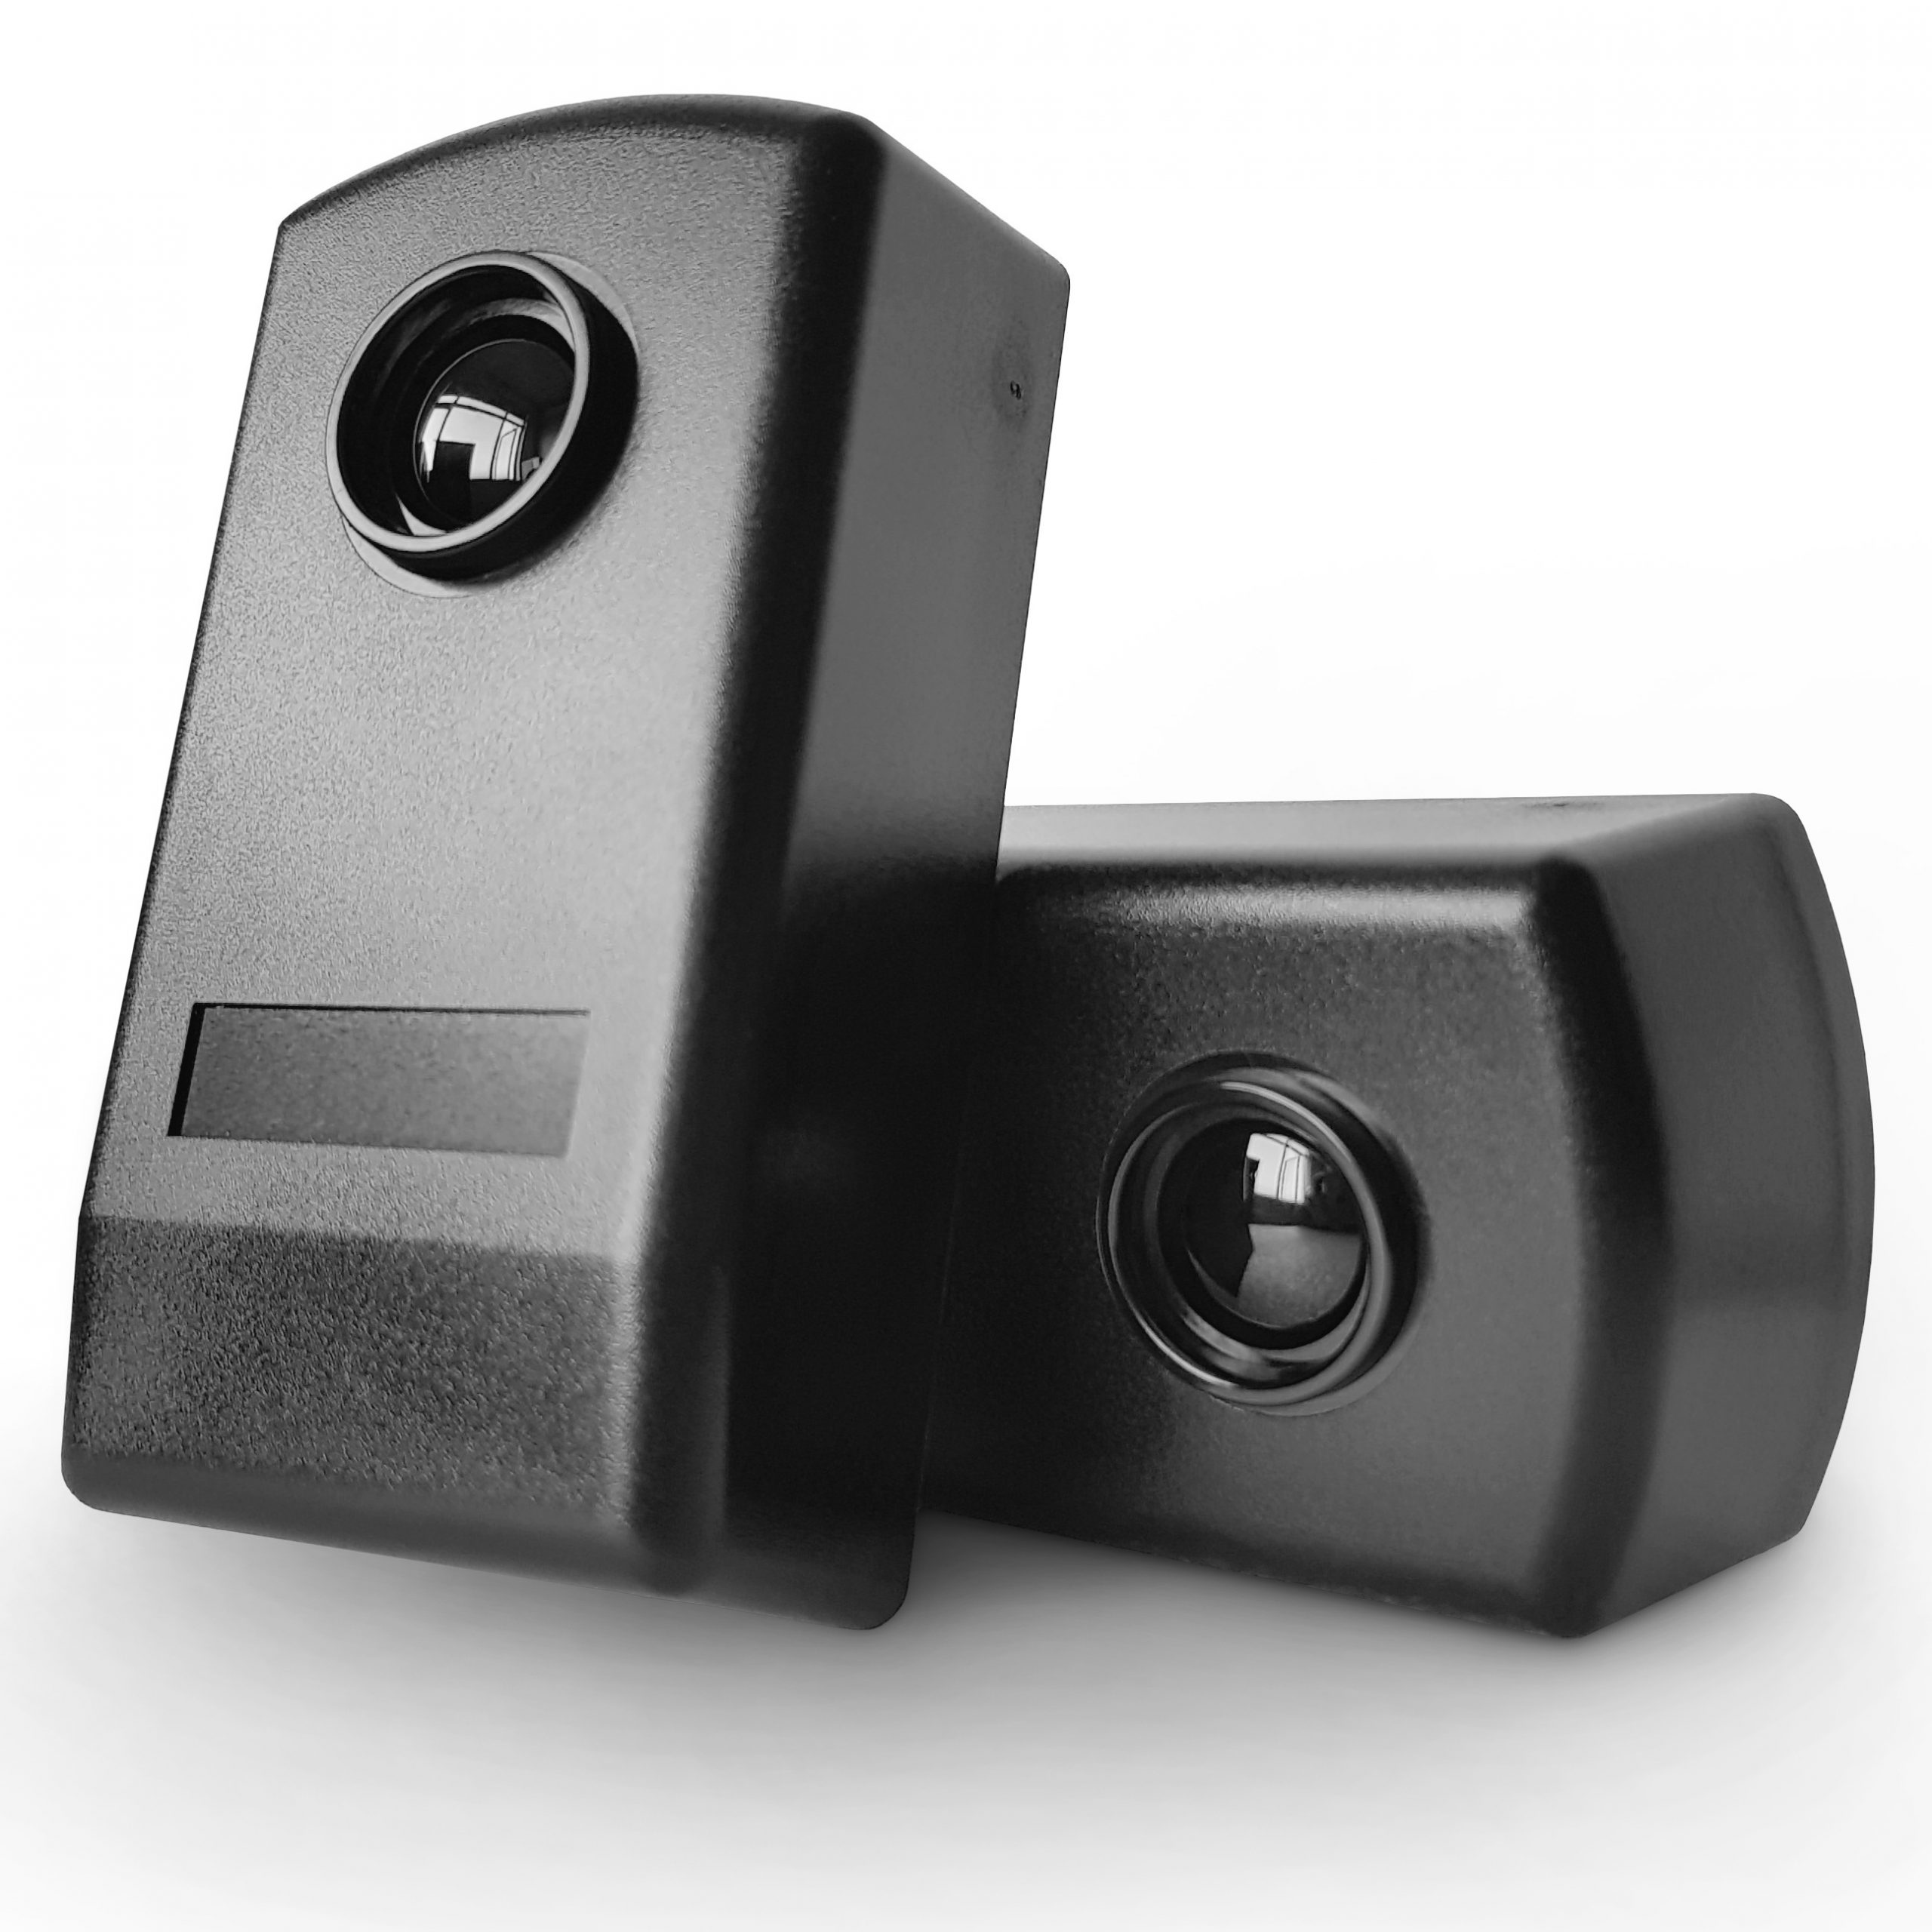
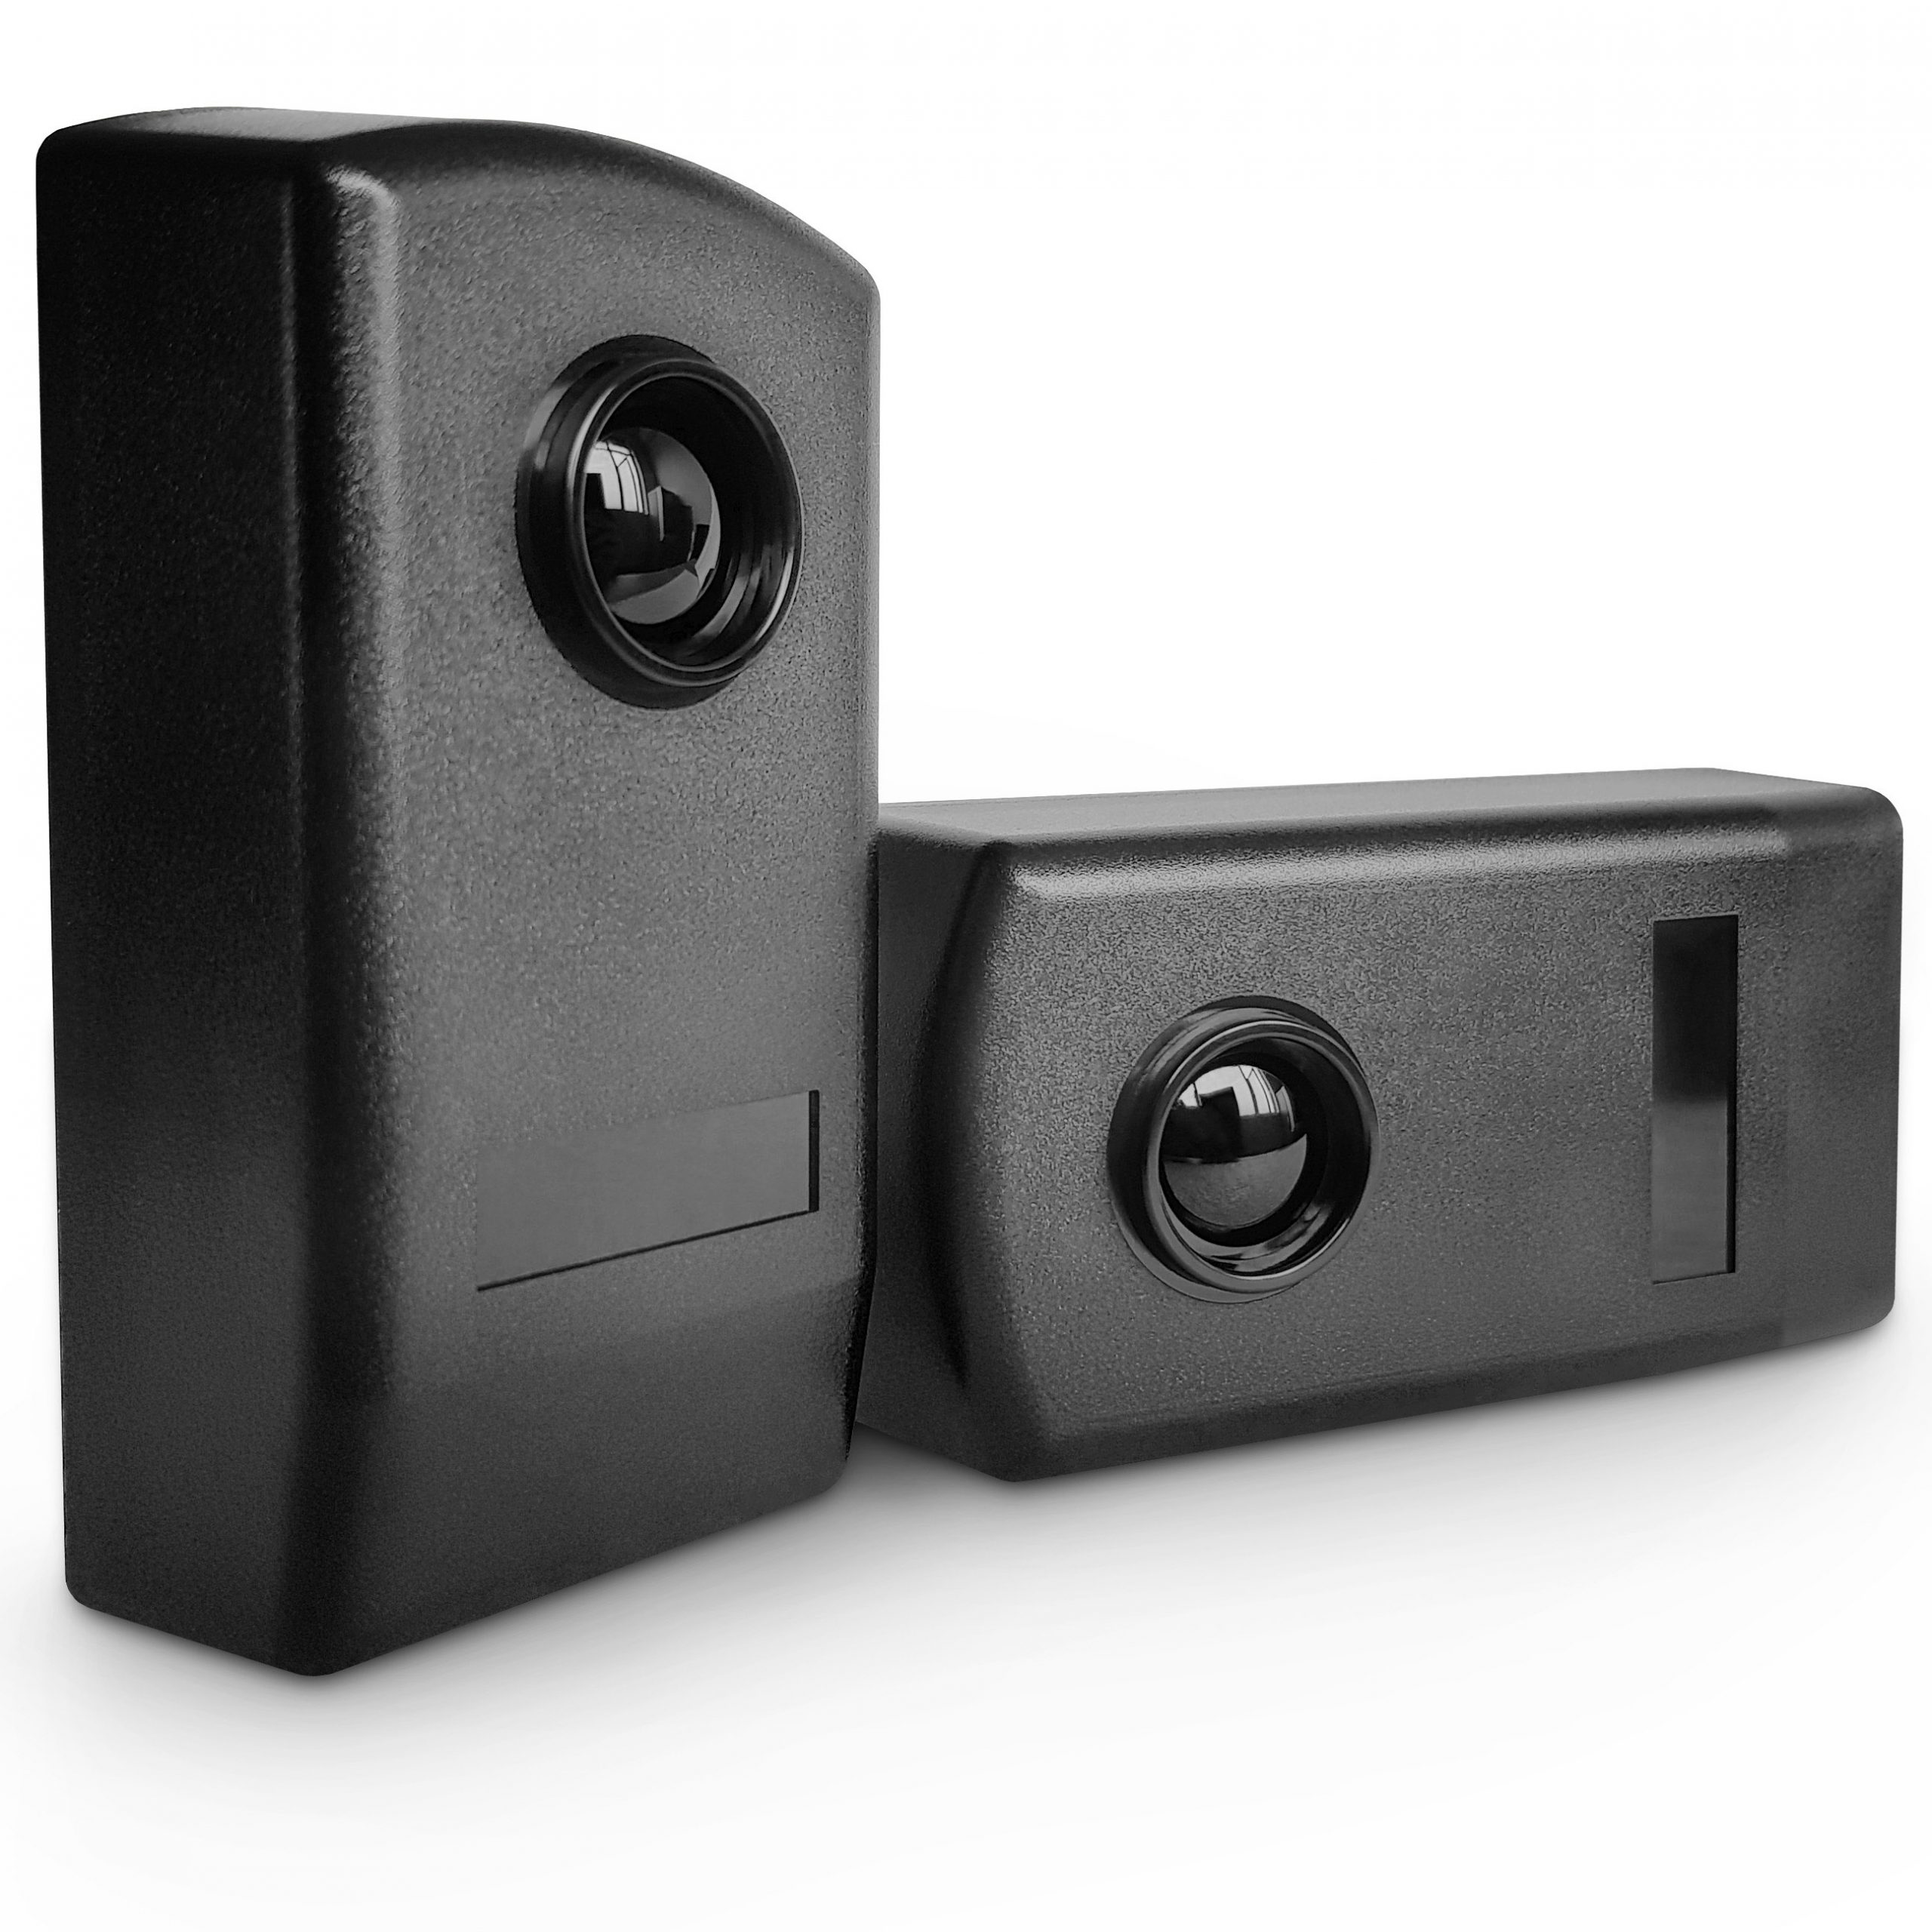
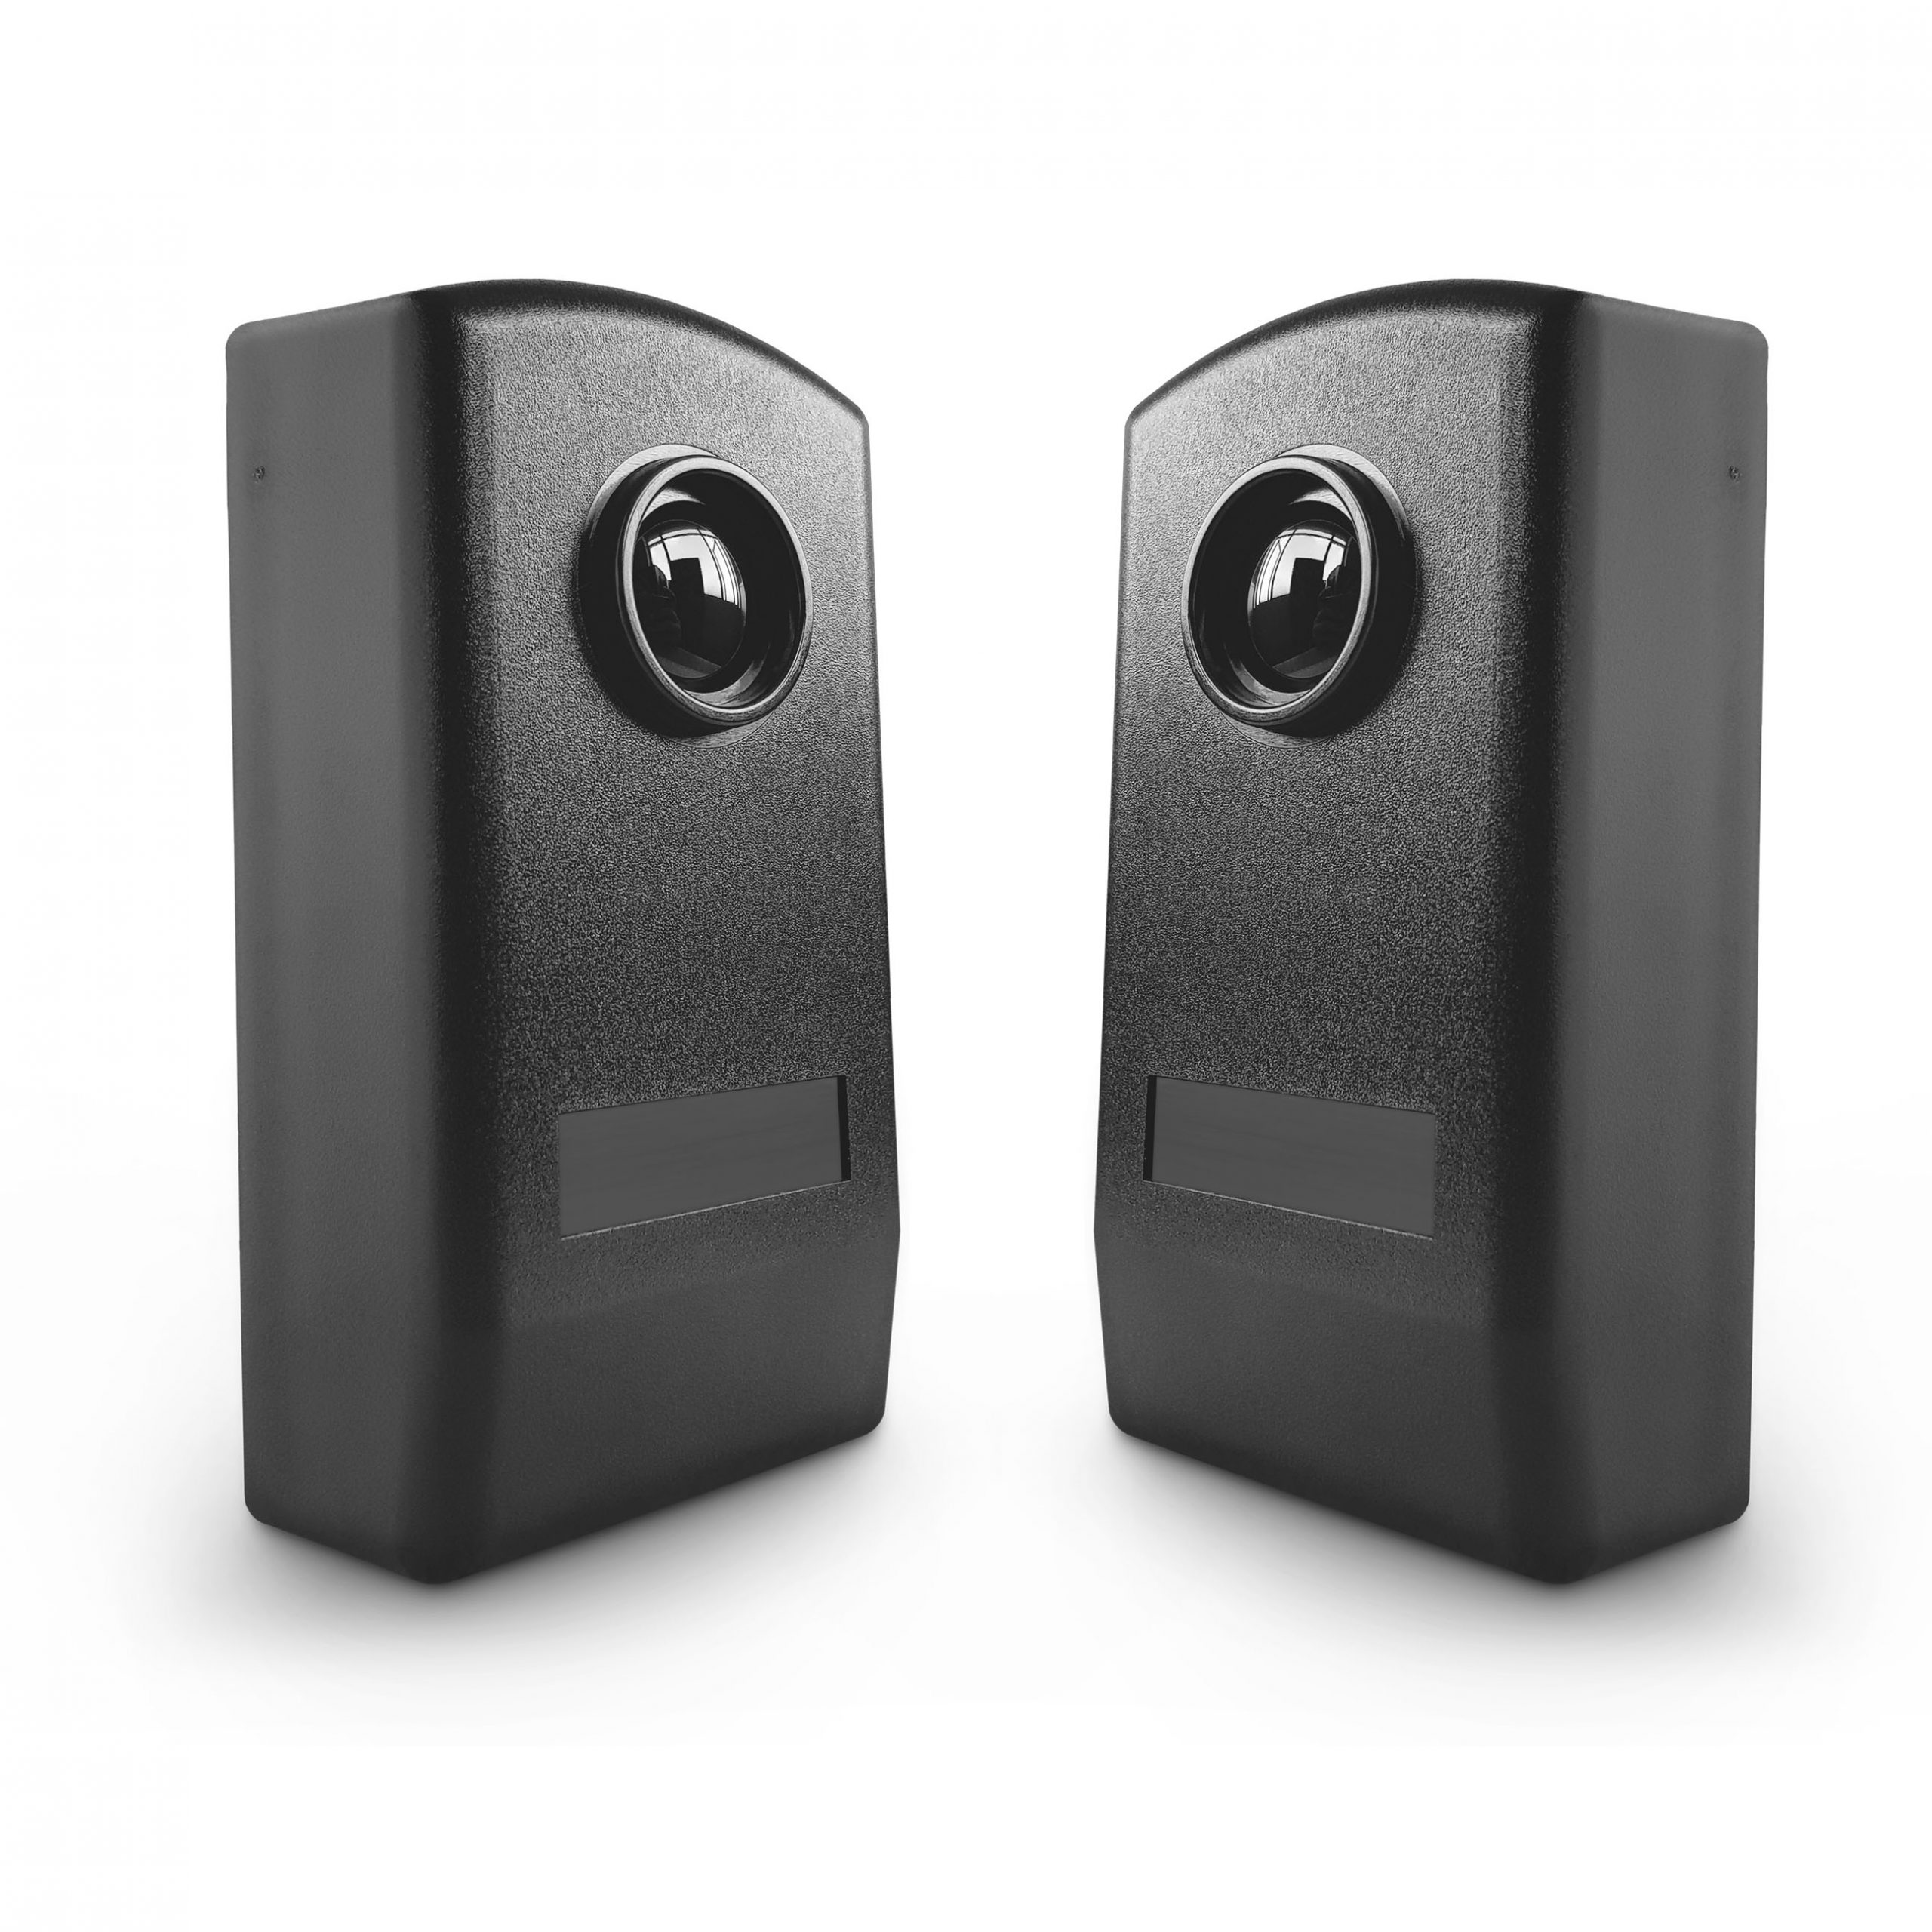
Automatic Door Sensor Infrared Photocell
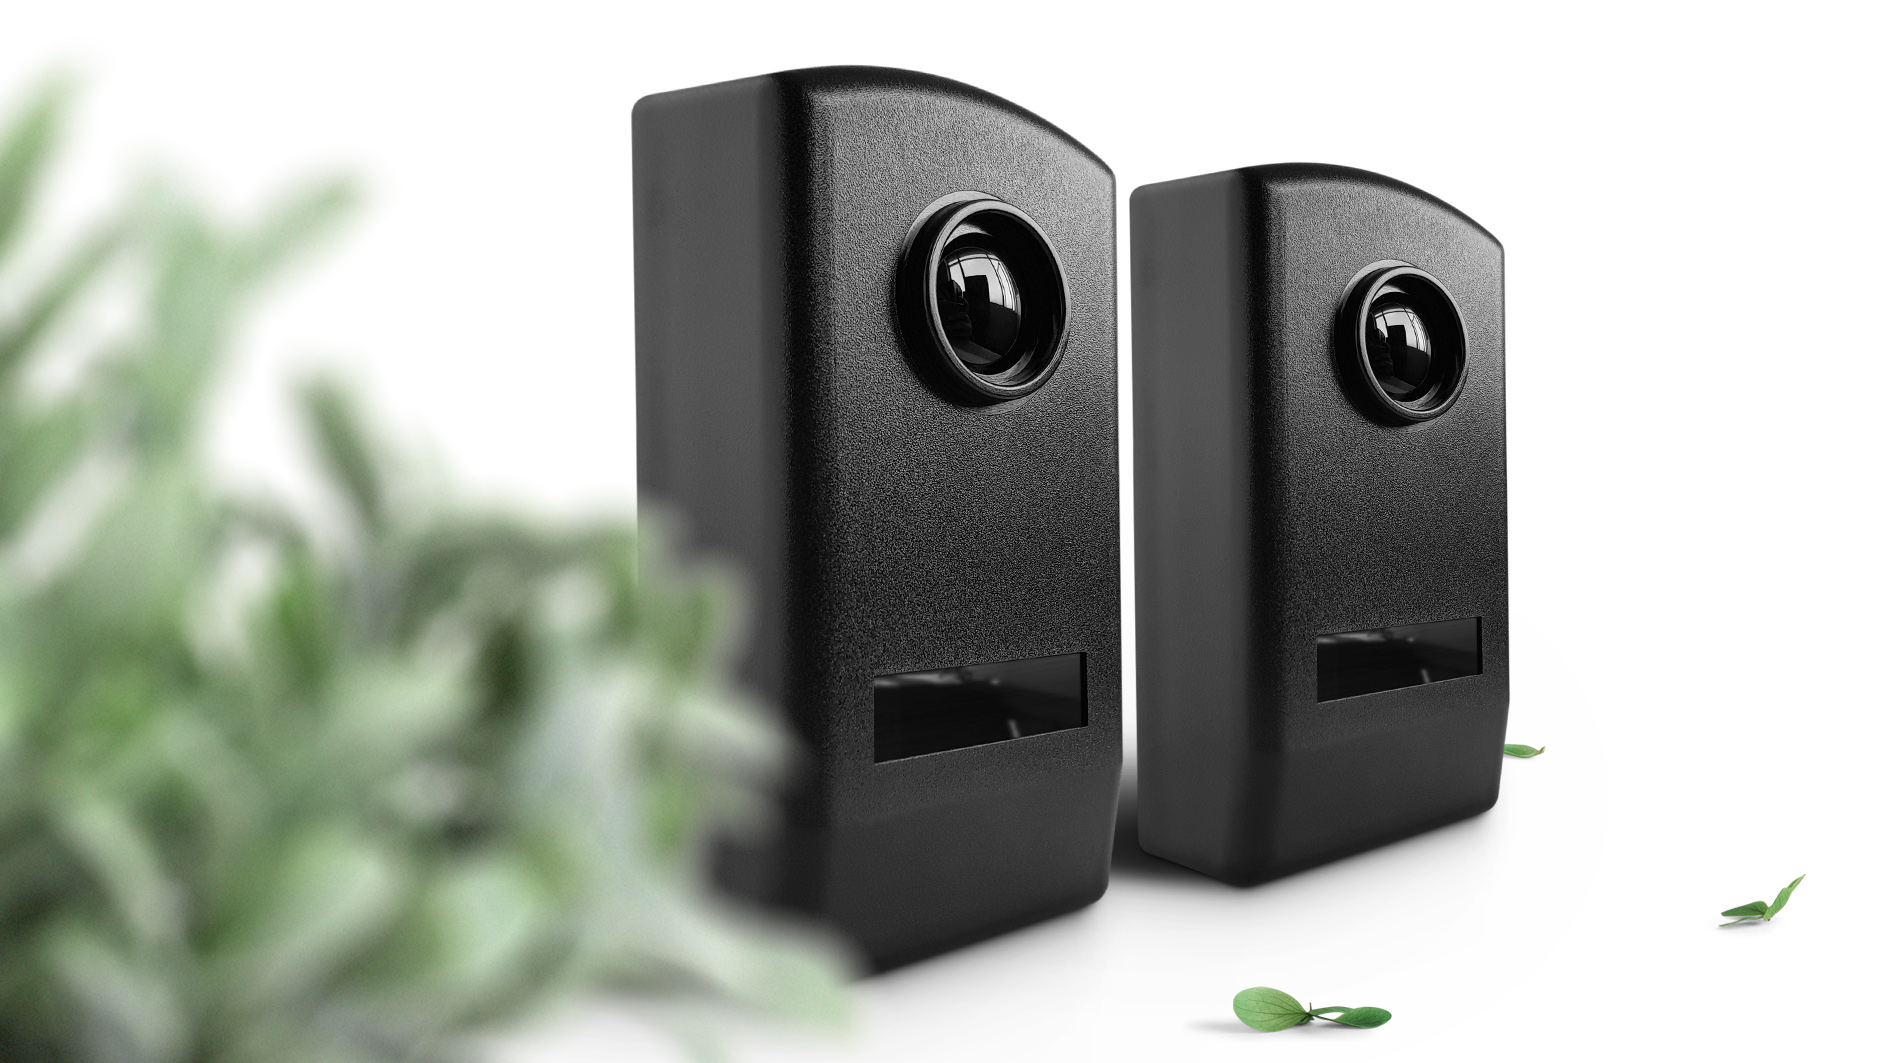
Automatic door sensor infrared photocell, When interrupting the infrared, the relay will output switch signal, it can work for parking barrier, walking gate, vehicle gate as body induction. It also can work as window, door and passageway anti-burglar detection.
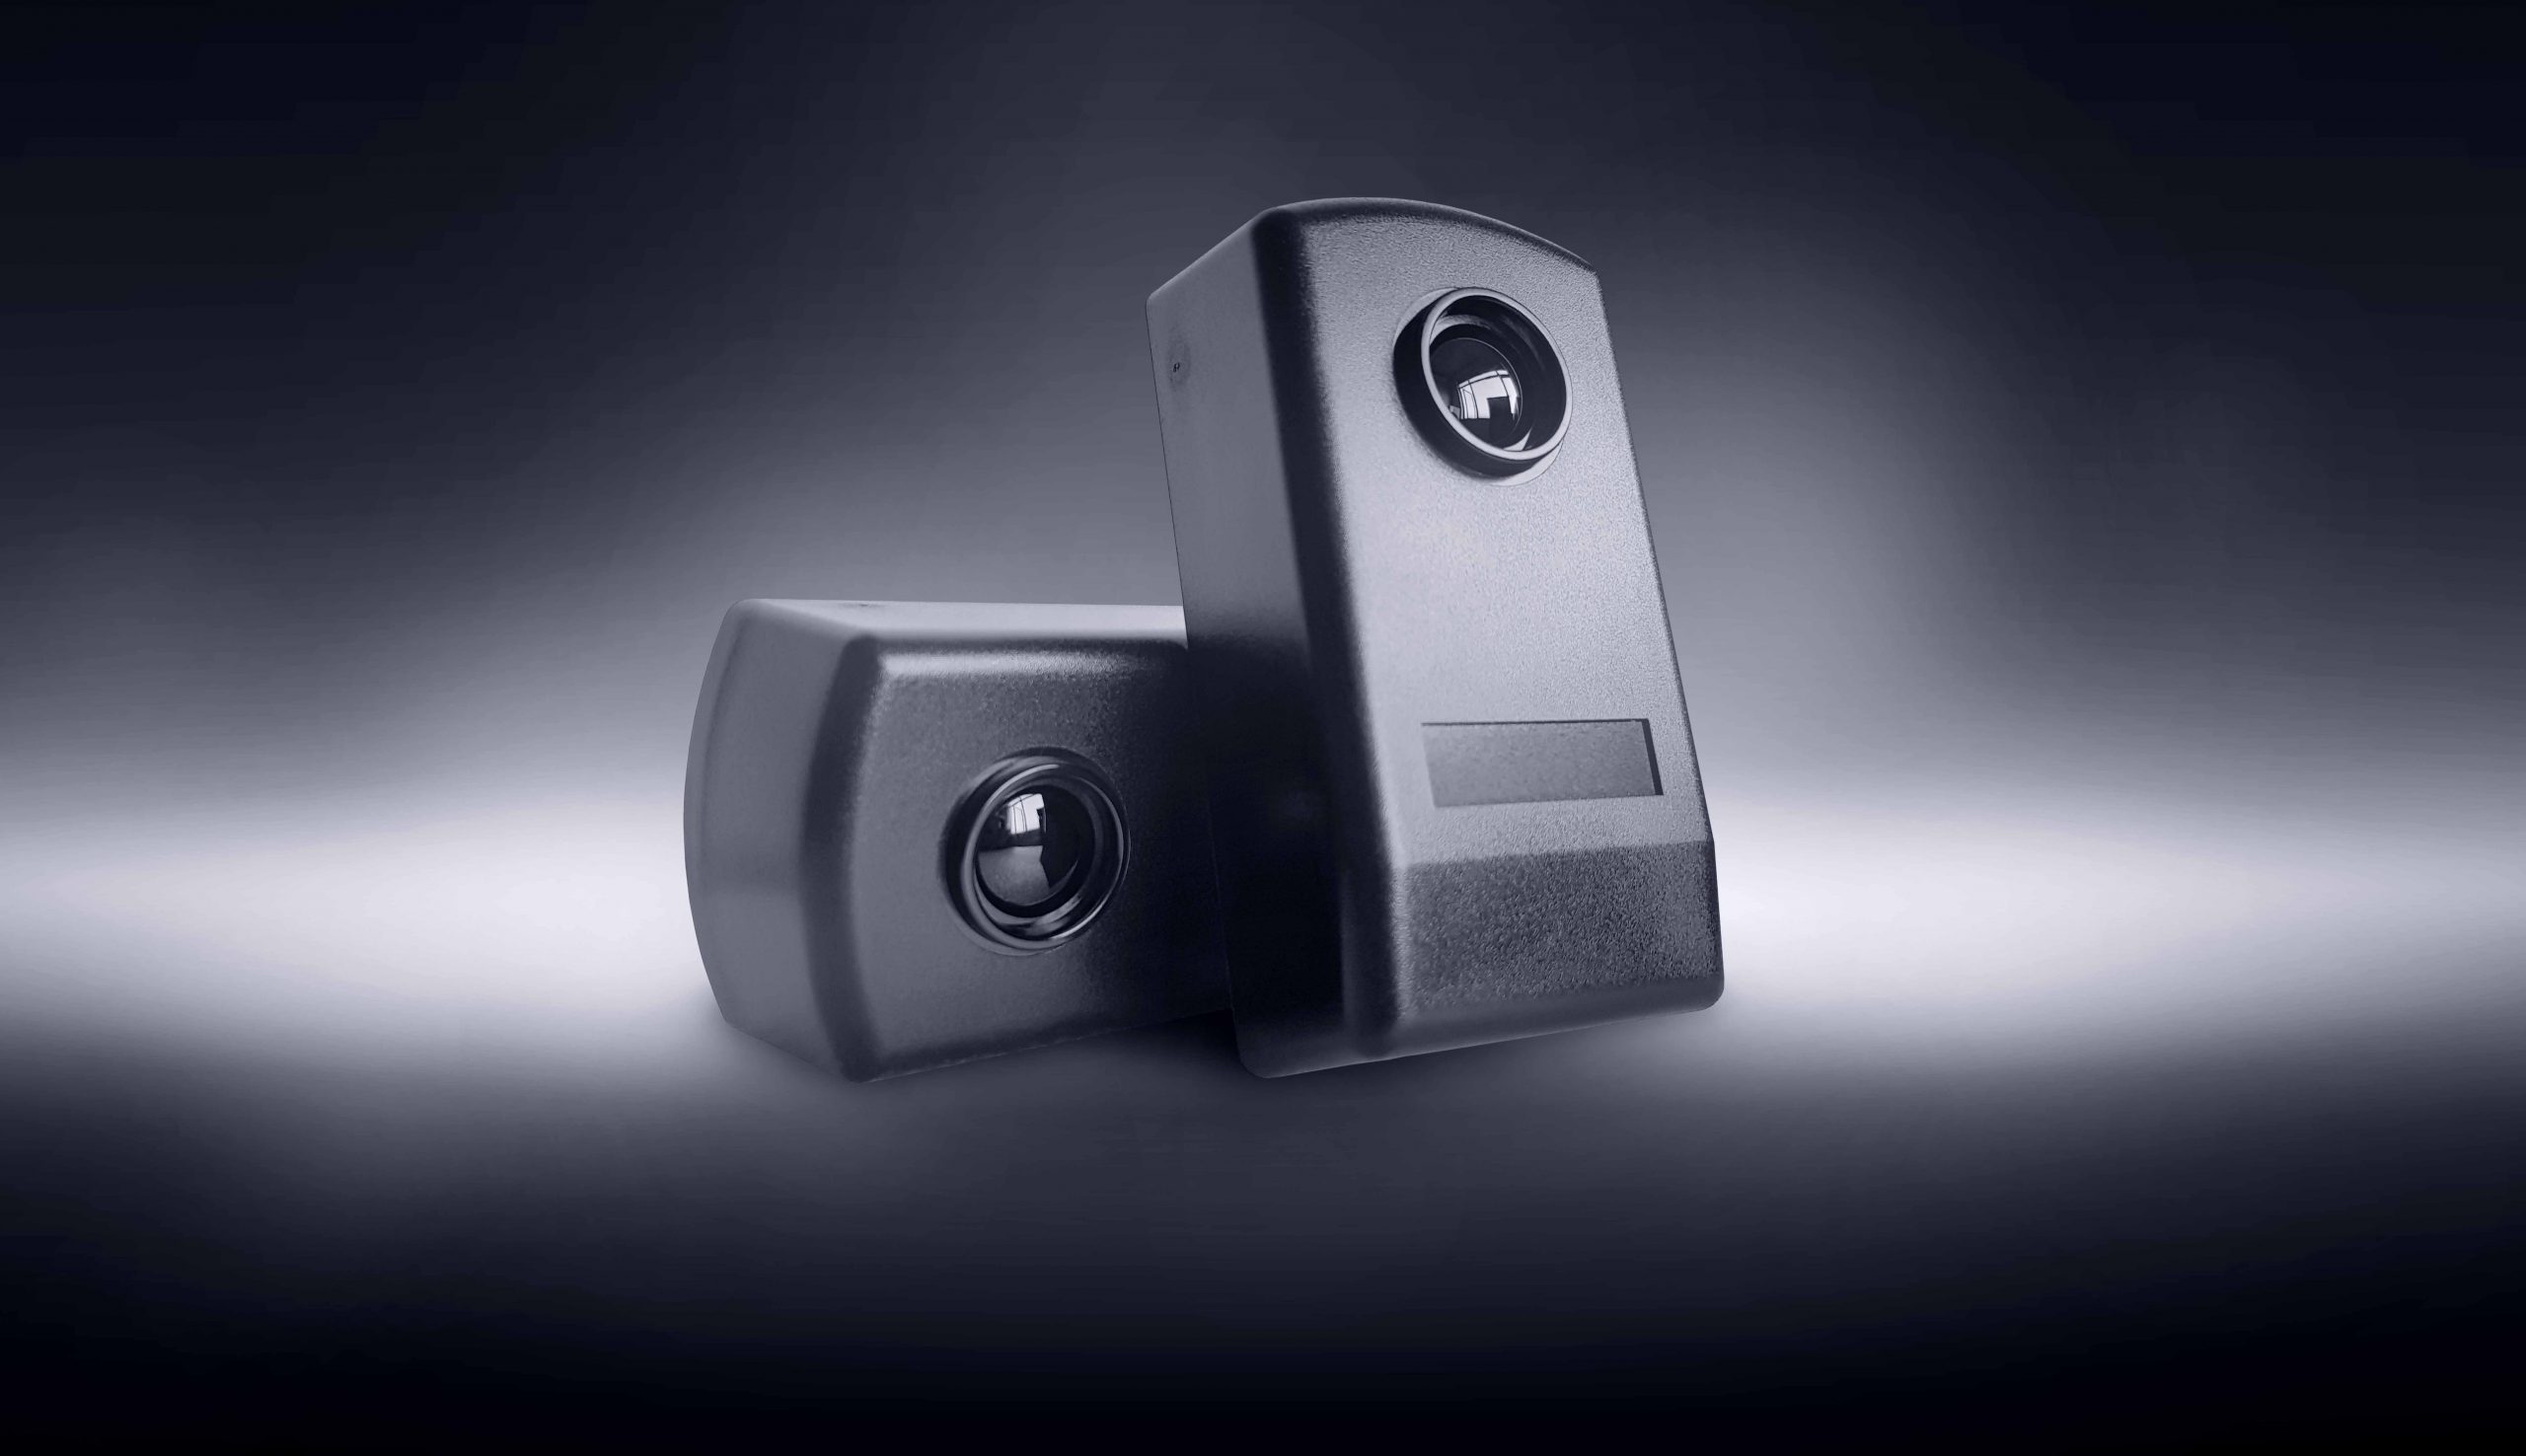
Why choose our IR-20?
1.Super Sunlight Resistance And Large Detection Angle
JUTAI IR-20 Photocell sensor with super light resistance, and which can be used directly under strong light, stable detection distance of 20 meters, super wide angle, detection angle of 60 degrees, even at a distance of 20 meters, transmission and reception are still easy to communicate.
2.Highly Cost-effective
Compared with the JUTAI wireless infrared series, the JUTAI IR-20 wired infrared has the characteristics of low cost and stable performance.Its low cost and safety and anti-pinch performance can ensure the safe operation of the door to the greatest extent,and make sure enry or exit under safe status.
3.Compatible With Any Brand Gate Operator
The IR-20 photocells are compatible with supply voltages from 12V to 30V DC. These versatile beams can be used on almost any gate or access automation equipment found in the market.
4.Long-distance Performer
IR-20 safety photocells with a 20 metre operating range, IR-20 is suitable for even very wide entrances. No matter how big the entrance, IR-20 is an ideal for virtually any entrance gate.
5.Fully Weatherproof Enclosure
IR-20 photocells with fully weatherproof and the enclosure ensures that the electronics will never bear the brunt of the weather.
6.Suitable For Universal Installations
Automatic sliding gate, swing gate, garage door, pedestrian door, industrial door, Boom Gates, Alarm System, warehouse monitoring etc. Anti-theft of automatic gate translation door switch induction signal/door, windows. No more cutting driveways to run cables required, perfect to retro fit on existing installations.
7.Flexible Business Model
We are very willing to help our customers to develop their own brand and assist customers in their local marketing. And not only wireless photocell sensor, we will further develop a series of high-quality products around the automatic door and villa security solutions. And to help customers promote at local marketing and form customer’s own brand ,help our create more and more benefits, growing up together.
IR-20 Wired Photocell Beam Sensor Specification
| Power supply | 12/24(VAC/VDC) |
| Max.Range up | 20Meters(indoor or outdoor) |
| Opera temperature | -10-+60℃ |
| Max.TX working current | 25mA |
| Max. RX working current | 35mA |
| Max. Relay contact | Max 500mA e 48Vac/dc |
| IP rate | Ip55 |
Connection Details
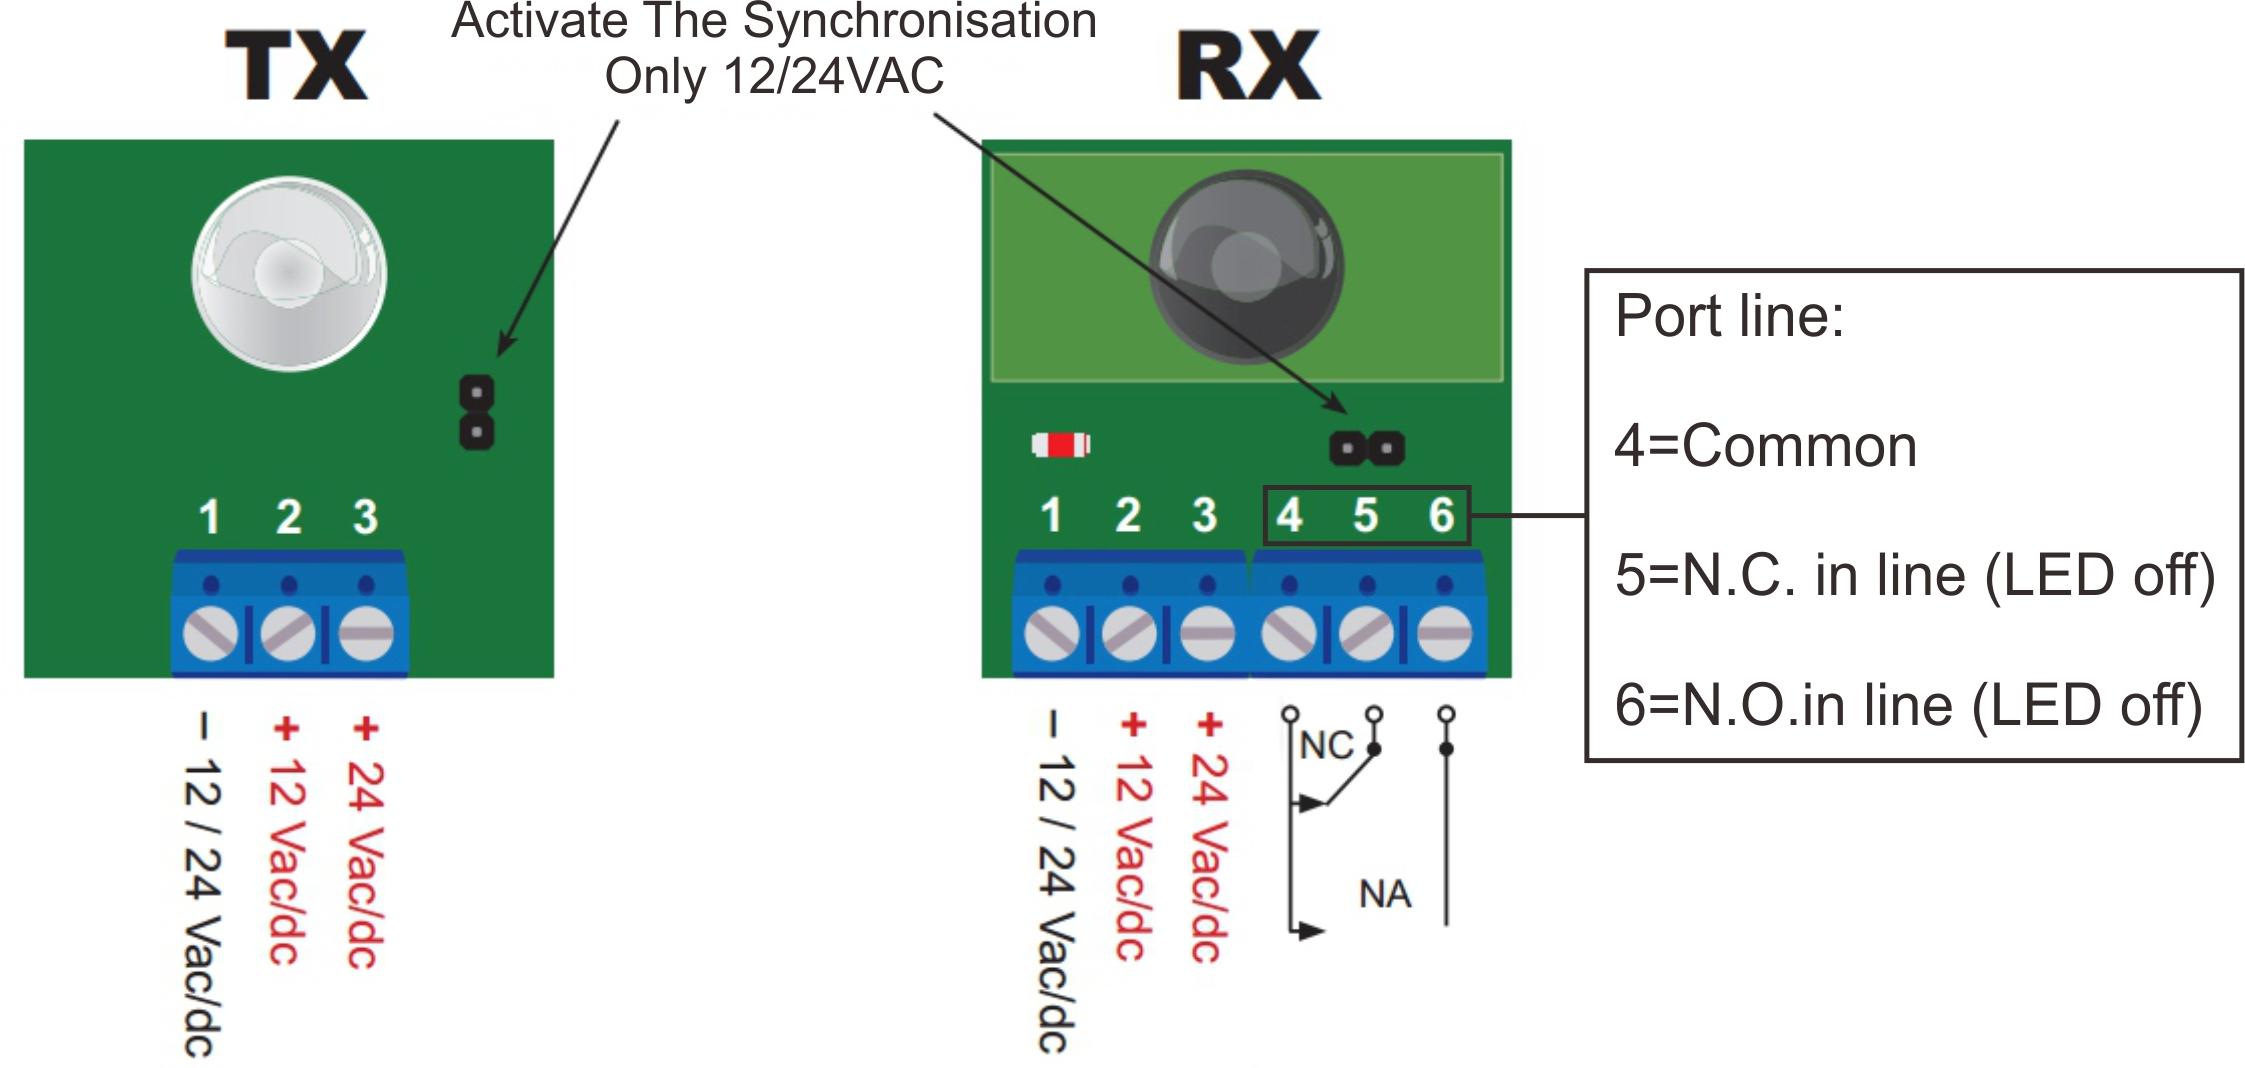
JUTAI IR-20 Wired Photocell, the following figure is the detailed function setting of the receiving end and transimiting end, we can set the normally open signal or normally closed signal by setting the jumper cap, and the working status of the indicator can also clearly check the infrared beam working condition;
How to Install JUTAI IR-20 Photocell ?
1. To open the IR-20M, lift the front panel of the photocell. Insert the cables in their housing and fix the base to the wall.
2. If the photocell has to be mounted on a wall, drill the three 5 ø holes and fit suitable screw anchors.If the photocell has to be mounted on metal, drill the three 3 ø holes for fitting with the self-tapping screws.
3. Make the connections. Power the photocells with a voltage between 12 and 24V DC/AC. If positioning, alignment and connection have been carried out properly, the red LED on the receiver will be off. Each time the ray is interrupted, the red LED switches on.
4. Cover the photocell with the front panel. Insert to the stop and close it. Interrupt the ray several times checking the relay response. Fix the front panels with the provided screws.

Core Advantages Of IR-20 Infrared Beam
JUTAI IR-20 infrared beam, when we design it, we have made a very thorough consideration in terms of materials, material selection, and appearance design. We use the German brand for the infrared light, so that he can guarantee a stable distance in the harsh outdoor environment. The outer shell is made of anti-ultraviolet material, the relay is made of Japanese brand, and the entire PCB board is made of SMT technology, one-piece molding, and the shell design is small and exquisite.

JUTAI IR-20 Anti-Interferecne Setting (Group Application )
JUTAI 20M Wired Photocell model IR-20, It work with JUTAI Single channel vehicle loop detector and used in barrier or Various automatic door control systems for safe detection function; for many different site application, we need to install 2 pairs up and down, let them work together, so need to make anti-interference settings;
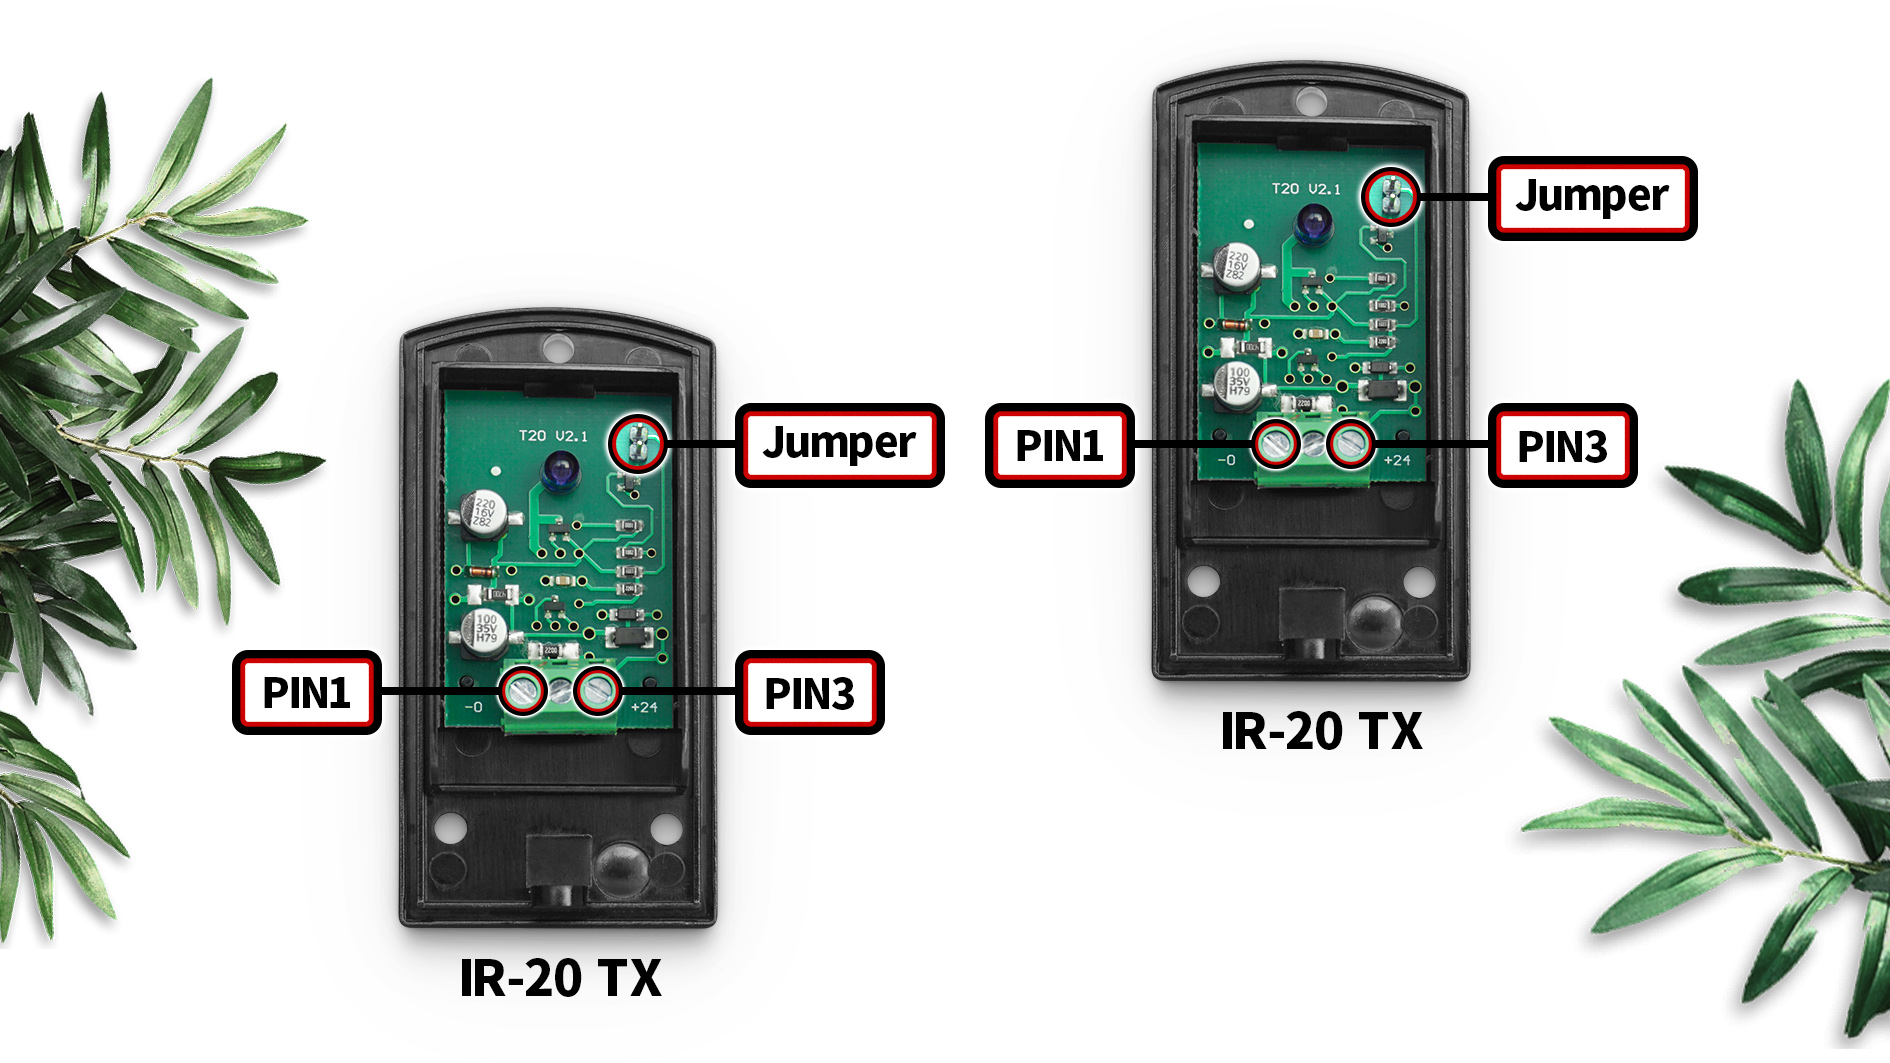
We need to do 2 step, First Step is setting the Jumper cap of JUTAI IR-20 RX and TX Port, let us refer to the IR-20 to do operation (But please note, this function only suit to 2 Pair IR-20, And this 2 pair IR-20 need working together, between each pair, the distance is very short, if projects only one pair IR-20, No need setting this function at all);
(1)First, Connect the Pin1 of TX1 to pin1 of RX1; Second, Connect the Pin3 of TX1 to Pin3 of RX1; Third, Connect the Pin1 of TX2 to Pin3 of RX2; Fouth, Connect the Pin3 of TX2 to Pin3 of RX2; See as following Photo;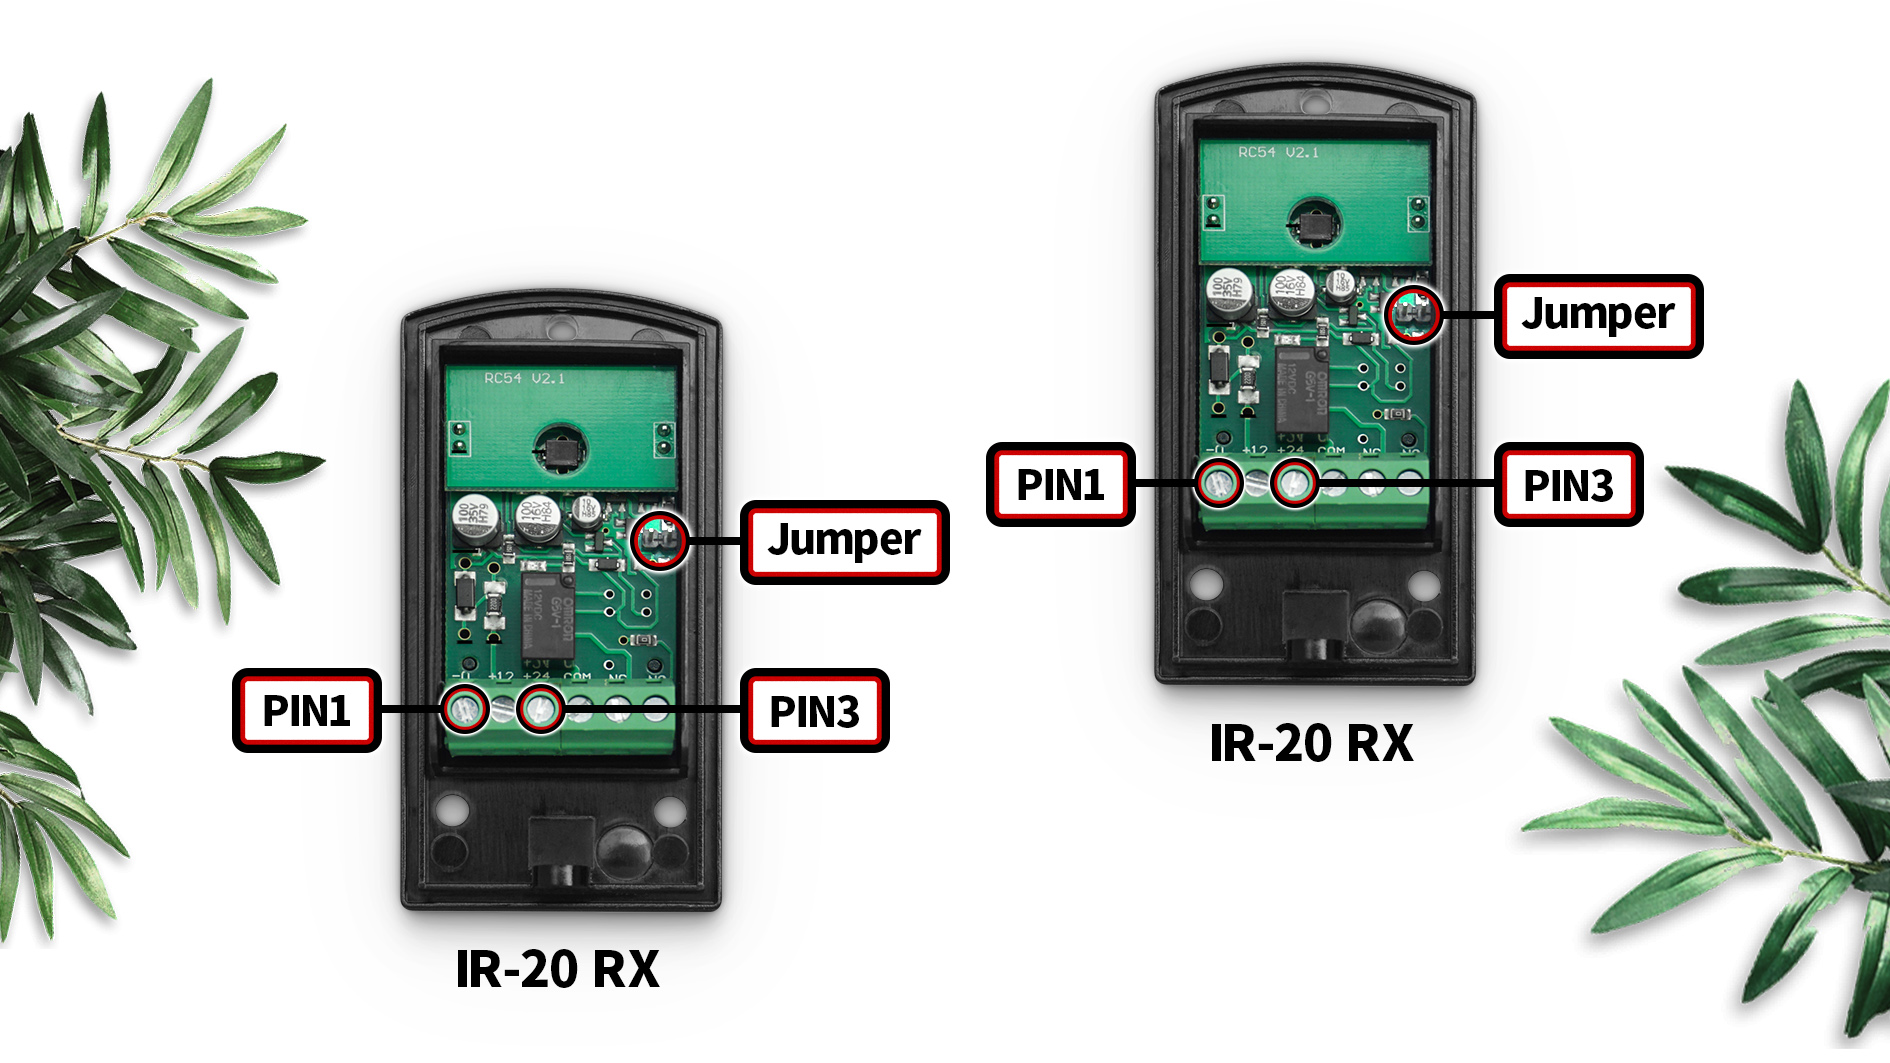
(2) Secondly, Let us refer to TX Group Setting;
We Have Three Steps (24VAC Power Supply)
The following steps are focused on the setting of the power line setting, JUTAI infrared can be connected to 12v and 24v AC, we take example as 24V;
Frist please refer to the whole layout photo, And then we will introduce one by one.
(1)First, Connect the Pin1 of TX1 to pin1 of RX1; Second, Connect the Pin3 of TX1 to Pin3 of RX1; Third, Connect the Pin1 of TX2 to Pin3 of RX2; Fouth, Connect the Pin3 of TX2 to Pin3 of RX2; See as following Photo;
(2) First, Connect pin1 of RX1 to pin3 of RX2; Second, Connect the pin1 of RX2 to pin3 of RX1; See the following photo;
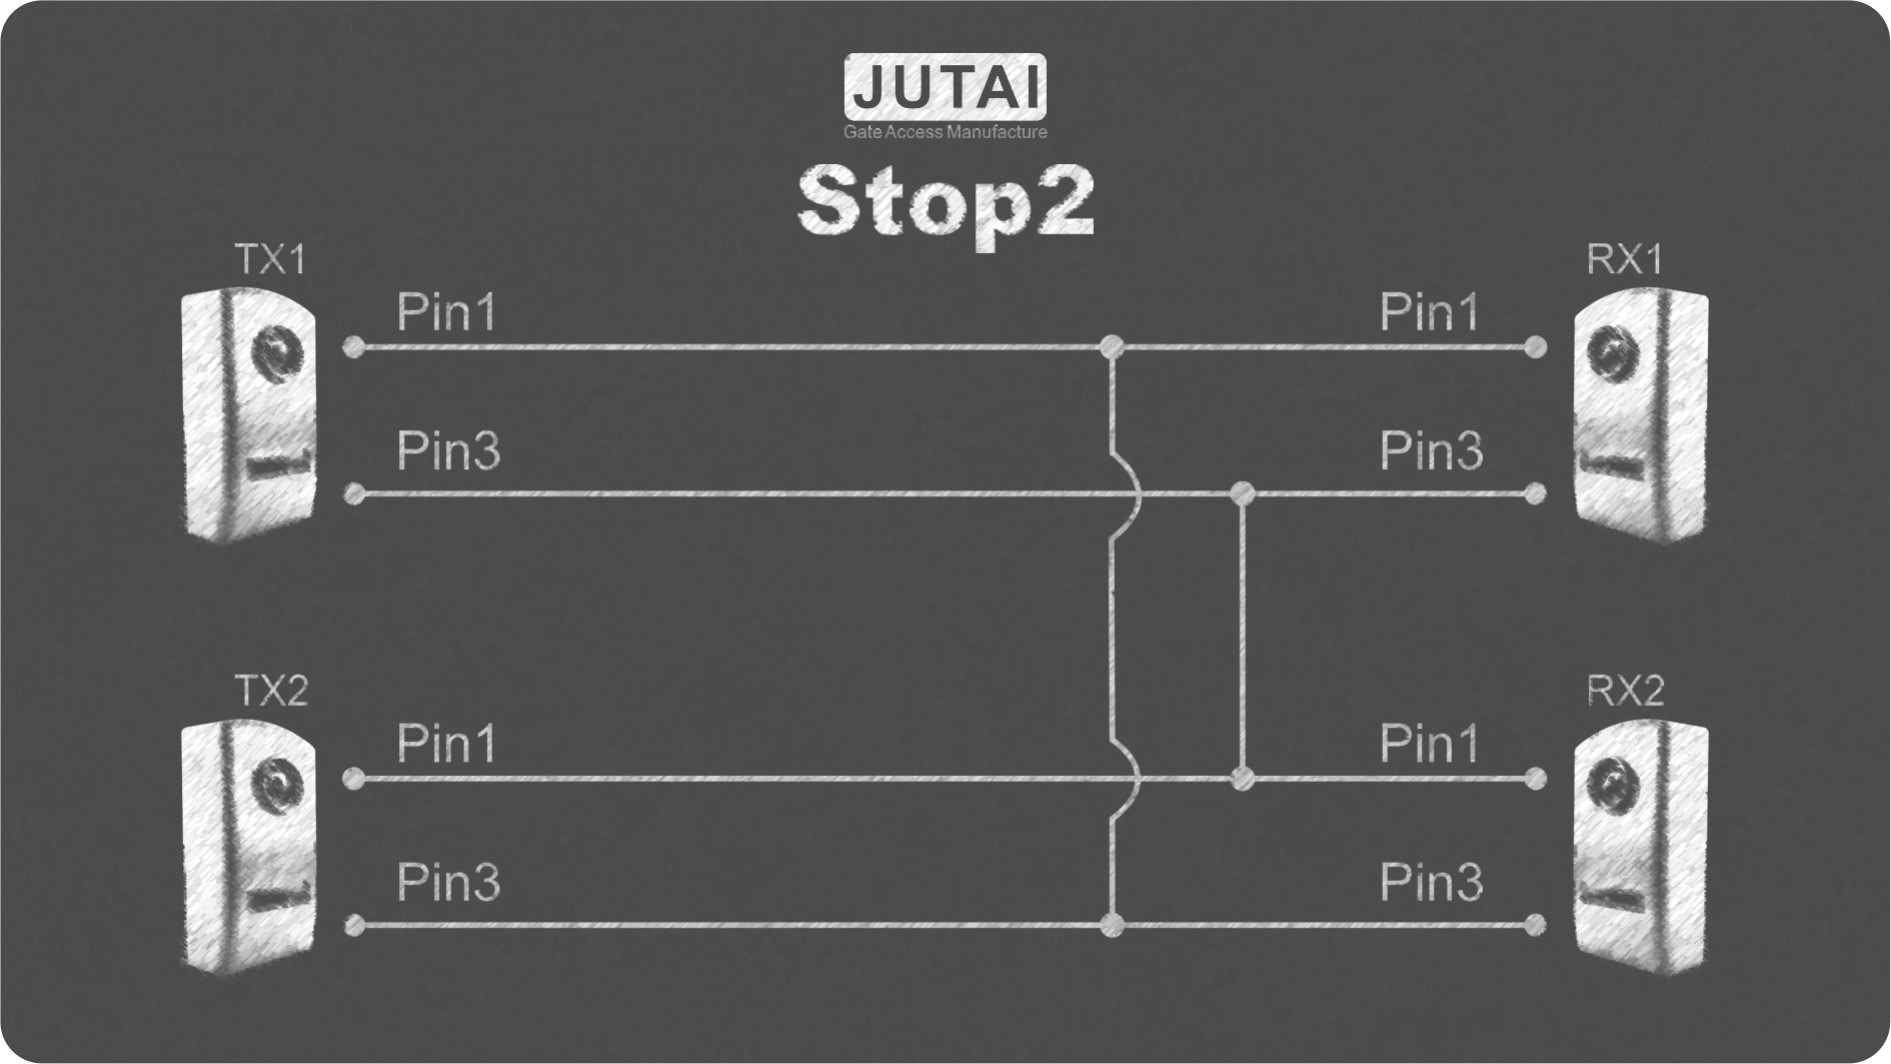
(3) Connect pin1 and pin3 of TX2 to 24V AC power supply (No need to distinguish between positive and negative), See the following photos;


